One-Shot Combos in The Strongest Battlegrounds
Turn one opening into a near-lethal chunk of the shared HP bar.
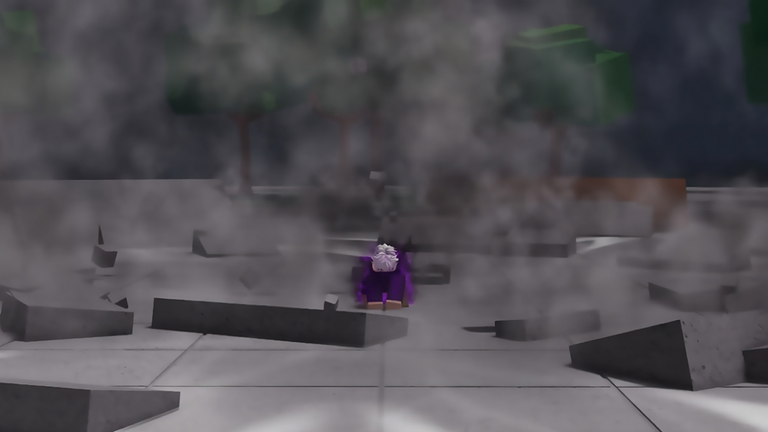
A “one-shot” in The Strongest Battlegrounds rarely means literal hundred-to-zero from a single button. It means a locked damage window—M1 cancels, extenders, wall confirms, and sometimes an ultimate snippet—that deletes most of the shared HP bar before the opponent can block, Burst, or ragdoll-cancel cleanly. Because every character shares HP, these routes climb ranks faster than learning five kits halfway.
This page assumes you already understand the four-hit M1 string (3% + 3% + 4% + 5%), dash directions, and the wall convert. If not, start with Getting Started and Wall Combo Guide, then return.
What makes a route “one-shot viable”
High-damage routes share four traits:
- True links — gaps small enough that a waking opponent cannot block or side dash out on reaction.
- Resource honesty — they spend cooldowns and sometimes ultimate meter on purpose, not by accident.
- Stage awareness — midscreen versions exist, but walls and corners raise the ceiling via the +12% wall cinematic.
- Character commitment — you practice one kit’s cancel timings until they are muscle memory; hopping characters resets the grind.
Use the Tier List to pick a main that matches your goals, then specialize. Strongest Hero remains a strong classroom kit even if your eventual main is elsewhere.
Universal building blocks
M1 string cancel
Land three M1s, then cancel into a special the moment the animation allows. The goal is zero dead frames. If you wait until the fourth hit always, some kits lose their best cancel windows; other kits want the fourth hit specifically to ragdoll into a skill. Learn which rule your character follows by drilling both in a private server.
Extenders
After the first special, chain a second tool before stun decays: another skill, a well-timed forward dash hit, an uppercut path, or a downslam that re-grounds for another string. Extenders are why labbing matters—public lobbies punish hesitation.
Wall as amplifier
Whenever you can steer the route into a surface, take the wall confirm. Fourth M1 / downslam / uppercut near the wall, ~0.2s delay, W+Q. That twelve percent is often the difference between “heavy chip” and “round over after one more touch.” Details stay on the wall page; this page just treats wall as a module inside longer routes.
Ultimate snippet
Some of the highest single-window bursts start by pressing G, landing the awakening opener, then canceling into M1s or a known string. Full awakening theory belongs on Ultimate Combos; here, treat ultimate as optional fuel when meter is ready and the open is clean.
Route blueprint (lab template)
Use this template for any character:
- Opener: whiff punish, perfect-block critical (see Blocking and Defense), or dash-in on a dropped guard.
- M1 glue: two to four hits to establish stun.
- Cancel 1: highest-reward special that keeps them locked.
- Extender: second special or dash/uppercut/downslam link.
- Wall module (if available): convert for +12% and armor frames.
- Ender: safe knockdown, lethal special, or ultimate spend.
- Disengage plan: if they Burst or ragdoll-cancel, do not greed—reset neutral.
Write your character’s button names into that skeleton. Record five successful private-server runs before taking it into ranked first-to-two sets (How to Play Ranked).
One-shot vs team modes
In free-for-all public lobbies, long cinematic routes invite third parties. Shorten the route: wall plus one special may be smarter than a full lab combo. Save Burst Guide awareness for when you are the one getting stacked—your one-shot means nothing if two players dump skills into you mid-cinematic.
In 1v1 ranked, longer routes are safer because only one opponent can interrupt (unless they have a dedicated escape). Still respect armor moves and counters; a spoiled one-shot that leaves you stunned is a free round gift.
Practice method that actually sticks
- Pick one route and one backup midscreen route.
- Warm up twenty M1 cancels without abilities.
- Add Cancel 1 until ten-for-ten.
- Add Extender until eight-for-ten.
- Add Wall module until eight-for-ten.
- Only then add ultimate fuel.
Watch the embedded one-shot video mid-article for visual pacing, then mute it and count your own timings out loud. If FPS drops during particle-heavy enders, fix that on Settings and FPS before blaming execution.
Common failure modes
- Mashing fourth M1 into block, eating punish stun.
- Spending forward dash early so wall convert is unavailable.
- Ignoring side dash re-angles that would have reached a wall.
- Forcing the full route when a simple wall-plus-special already wins the round.
- No ender plan after the knockdown—camera spin, missed special, free wake-up.
Cross-training links
Keep Controls nearby while you remap habits from other fighters. Study Character Interactions so cinematic clash moments do not steal your convert window. Claim Codes on breaks. Browse Players for high-level examples of your main. Return to the Guides Hub when you need the full syllabus order.
One-shot skill is not secret inputs—it is disciplined linking under stress. Lab the template, wall when you can, spend ultimate on purpose, and treat every failed convert as a note for the next private-server set.
Frequently Asked Questions
Quick answers for combat, codes, and ranked play.
What is a one-shot combo in TSB?
A locked high-damage window that combines M1 cancels, extenders, and often a wall or ultimate snippet to erase most of the shared HP bar.
Do I need ultimate for one-shots?
Not always. Many strong routes work from meterless cancels plus wall. Ultimate raises the ceiling when the opening is clean.
Should I always go for the longest route?
No. In public lobbies, shorter wall-plus-special converts are safer. In 1v1, longer routes are more realistic if they stay true.
How should I practice?
Use a private server, master one character’s template step by step, and only add wall or ultimate modules after cancels are consistent.
Where do wall combos fit?
Treat the wall cinematic as a damage module inside the route. Learn the dedicated wall guide, then plug it into your ender.