How to Wall Combo in The Strongest Battlegrounds
Pin, fourth hit, micro-delay, forward dash—every character’s shared high-reward conversion.
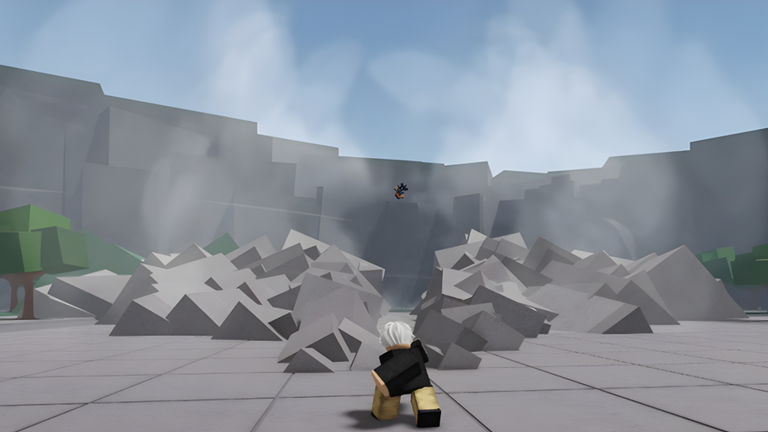
Wall combos separate players who trade light M1 chips from players who delete a quarter of the shared HP bar in one committed sequence. In The Strongest Battlegrounds every character can perform a wall combo. The standard payoff is about +12% damage on top of your setup hits, plus a cinematic knockdown that opens specials, another M1 string, or the routes covered in One-Shot Combos and Ultimate Combos.
If you are still shaky on dashes and the four-hit chain, finish Getting Started first. Wall timing sits on top of those inputs—it does not replace them.
What counts as a wall
You need a solid surface behind the opponent: map walls, trees, fences, benches, trash cans, and similar props. Flat walls are the most consistent classroom. Trees and trash cans work but change launch angles and can feel “wrong” until you learn each prop’s bounce. Corners are excellent because they reduce sideways escape options, but they also make your own dash path tighter—practice both open wall and corner.
Positioning rule of thumb: drive the opponent into the surface with movement and early M1s so the fourth M1, a downslam, or an uppercut connects while they are still overlapping that surface. If they are a body-length away from the wall when the fourth hit lands, the forward dash usually becomes a normal dash hit instead of the wall cinematic.
The core input (PC)
- Pin the opponent against a valid surface.
- Land a qualifying hit: fourth M1, downslam (jump + click), or uppercut (hold space after three M1s).
- Wait roughly 0.2 seconds—a breath, not a freeze.
- Forward dash with W + Q.
That micro-delay is the skill check. Dash instantly and you often get a normal forward dash. Dash late and the window closes. Private servers are ideal because you can repeat the same wall angle without lobby chaos. Confirm dash bindings on Controls if W+Q feels inconsistent on your device.
Mobile players use forward movement plus the Dash button with the same delay idea. Console players map the equivalent stick-forward + dash. The timing concept does not change—only the buttons do.
Damage math and why it matters
A full M1 string is about 3% + 3% + 4% + 5%. The wall cinematic then adds roughly 12%. That means a clean M1-into-wall sequence can swing close to a quarter of the shared bar before you spend a single character special. Because every kit shares HP, wall consistency is a universal climb tool whether you main Strongest Hero or a specialist from the Tier List.
Most wall combos also grant armor during the cinematic (notable exceptions exist on specific characters). That armor is why greedy challengers who mash into your wall animation often lose the trade. Learn your character’s ender direction: some launch left, right, back, or forward off trash cans. Pre-aim the follow-up instead of spinning the camera after the cutscene.
Character flavor (same timing, different film)
Every fighter has a named wall animation—Strongest Hero’s Light Sneeze, Hero Hunter’s Wall Assault, Destructive Cyborg’s Flame Fist Fury, Deadly Ninja’s Slicing Takedown, Brutal Demon’s Adrenaline Mayhem, Blade Master’s Precise Slices, Wild Psychic’s Psychic Boulder Crush, Martial Artist’s Void Strikes, Tech Prodigy’s Pincer Barrage, and more. Sorcerer is the famous exception: Infinite Convergence can kill outright instead of dealing the standard twelve percent. Treat Sorcerer wall confirms as round-ending threats and respect their setups in ranked.
KJ and other limited kits may alter armor or slap-style finishers. Patch notes and Character Interactions matter when two awakenings collide near walls, but the setup input stays fourth-hit-plus-forward-dash.
Cooldown and resource management
Wall combos typically sit on about a five-second cooldown after use. Do not spend the wall confirm on a low-value touch if you are about to open a true kill route. Likewise, forward dash shares cooldown with back dash—burning W+Q for a failed wall attempt can leave you without a retreat option when they swing back. Side dash remains available more often; use it to re-angle toward a wall rather than panic-forward-dashing from midstage.
Setups that actually work in matches
- Corner carry: side dash to cut escape, two or three M1s to glue them, fourth M1, delay, W+Q.
- Whiff punish into wall: when they miss a long skill near a surface, sprint in, complete the string, wall.
- Block pressure: after they drop block (see Blocking and Defense), do not greed forever—take the wall when spacing allows.
- Downslam or uppercut confirms: if the fourth M1 is risky, convert with downslam/uppercut against the surface, then still forward dash on the 0.2s timing.
Avoid holding block immediately after your own M1 chain; smart opponents forward dash into you and steal their own wall. Reset with movement or a safe special instead.
Follow-ups after the cinematic
The knockdown is the real prize. Common plans:
- Instant special that catches the bounce.
- Fresh M1 string if they wake poorly.
- Ultimate spend if meter is ready—route ideas on Ultimate Combos.
- Save Burst awareness for team modes; walling one player while two others stack you is a Burst Guide problem, not a wall problem.
In 1v1 ranked (see How to Play Ranked), one clean wall plus a composed follow-up often decides a round because first-to-two formats amplify every conversion.
Practice drill (ten minutes)
- Pick one wall on one map.
- Ten successful wall combos in a row with Strongest Hero (or your main).
- Ten more using downslam as the qualifier.
- Ten more using uppercut as the qualifier.
- Move to a tree or trash can and repeat five each.
Then watch the embedded wall-combo video mid-article for visual timing, return to the drill, and only then add specials. Check Codes on login breaks; cosmetics do not fix a late dash. Browse Players for high-level VODs once your private-server timing is stable.
Common failures
- No surface contact on the qualifying hit.
- Dash too early (normal forward dash) or too late (nothing).
- Wrong dash (side/back) by panic.
- Cooldown disrespect—trying again instantly after a successful wall.
- Camera spin during the cinematic so you lose the follow-up.
Wall mastery is the fastest way to make the shared HP pool feel fragile for your opponent. Link back to the Guides Hub when you are ready to layer one-shots, ultimates, and ranked structure on top of this convert.
Frequently Asked Questions
Quick answers for combat, codes, and ranked play.
How do I perform a wall combo?
Pin the opponent to a solid surface, land a fourth M1 (or downslam/uppercut), wait about 0.2 seconds, then forward dash with W+Q.
How much damage does a wall combo add?
Most characters deal about 12% bonus damage with the wall cinematic. Sorcerer’s wall combo can kill outright instead.
Do trees and trash cans work?
Yes. Any solid prop can qualify, but flat walls are the most consistent while you learn timing and launch angles.
Why did my forward dash not trigger the wall animation?
Usually the opponent was not flush with the surface, or your dash timing was early/late. Drill the 0.2s delay in a private server.
What should I do after a wall combo?
Use the knockdown to land a special, another M1 string, or an ultimate route. Pre-learn your character’s launch direction.